Discover how to create a trendy look with textured hair by following our comprehensive guide on crimping your locks.
Learn how to craft the perfect waves and add an edge to your hairstyle repertoire with our go-to guide for standout strands.
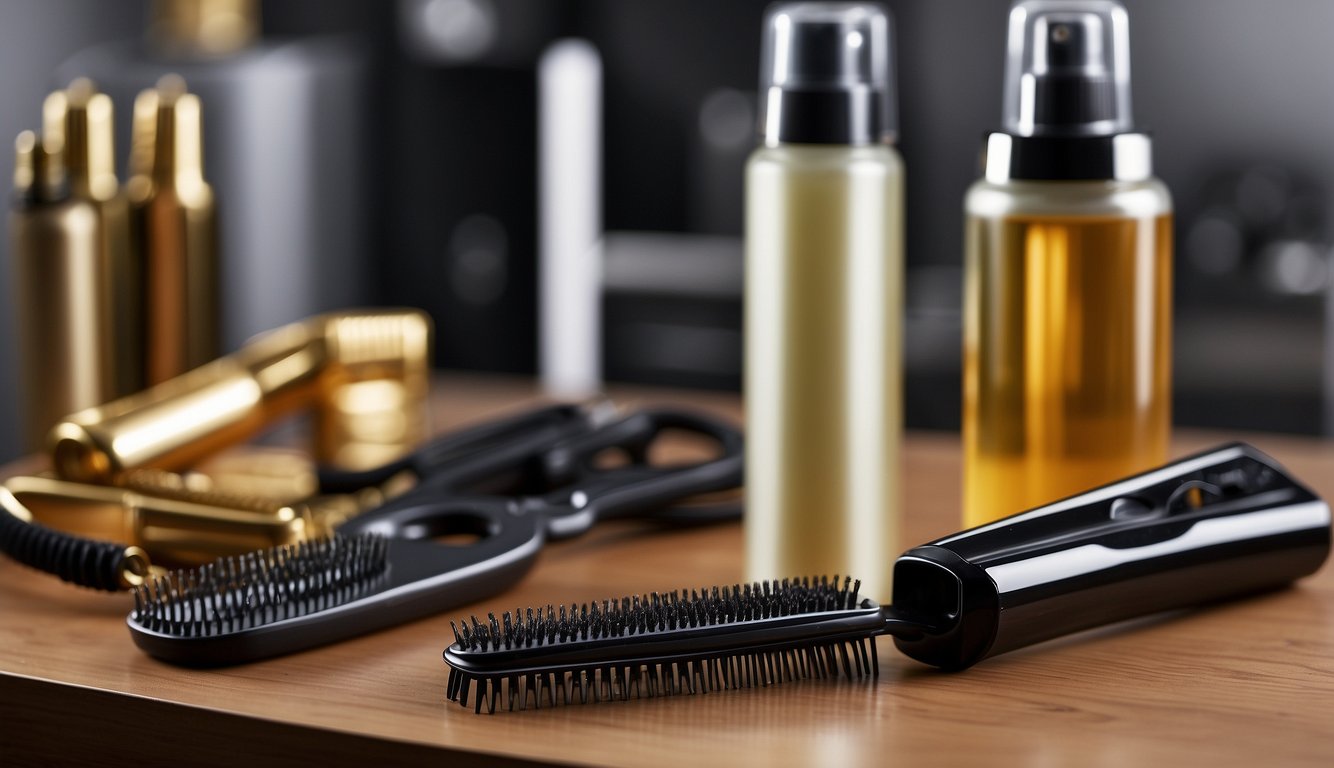
How to Style Crimped Hair? Essential Tools and Products
Choosing the Right Crimping Iron
When selecting a crimping iron, it’s crucial to consider the plate size and heat settings. Fine or thin hair is best styled with a lower heat setting to prevent damage, while thick or coarse hair can handle medium to high temperatures. Look for crimping irons with multiple heat settings and ceramic plates for even heat distribution and reduced frizz.
Prep with Heat Protectant Sprays
Starting with a good foundation is key, so apply a heat-protectant spray before crimping. This thermal barrier minimizes the risk of heat damage and helps maintain healthy hair. Choose a professional heat protectant that shields your hair from the heat and adds moisture and shine. Mist each section of your hair evenly before you crimp to ensure comprehensive heat protection.
Pre-Styling Haircare Tips

Washing and Drying for Prime Texture
To start, it’s all about that cleansed and conditioned base. Freshly washed hair is your canvas; use a nourishing shampoo and conditioner for hydration and to help your hair hold the crimped pattern, especially if you have fine hair that can be prone to frizz. After washing, gently blot your hair dry with a towel.
If you have natural hair or textured hair, consider using a blow dryer with a diffuser on a cool setting to minimize damage and frizz. Before bed, wearing a satin bonnet can help maintain your hair’s texture and reduce friction that might cause tangling and breakage.
Protecting Hair from Heat Damage
Now, guarding your tresses from heat is non-negotiable. Always apply a heat protectant before using hot styling tools; this creates a barrier substantially lowering the chance of damage. A good heat protectant doesn’t just shield your hair—it can also add shine and help maintain that sought-after texture.
Regardless of hair type, keep the heat to the lowest possible setting that’s effective in crimping your hair; fine hair needs less heat, while thicker strands may require a higher setting. Remember, the goal is sensational crimps without the compromise!
Step-by-Step Guide to Crimping

Sectioning Your Hair for Even Crimps
Divide and conquer is the motto here! Begin by parting your hair into sections no wider than the crimping plates. This ensures each wave is defined and consistent. Use hair clips to separate your hair into manageable sections, typically starting from the bottom and working your way up. Not only does this help in achieving a uniform crimped style, but it also makes the whole process simpler and more efficient.
- Top Layer: Save for last to cover the sections below.
- Middle Layers: Focus on precision, as these are the most visible.
- Bottom Layers: Start here to build a voluminous foundation.
The Crimping Technique
Now it’s showtime! Preheat your crimping iron while you finish sectioning. Work on one section at a time, clamping down near the roots and holding for a few seconds before releasing. Glide down the length of your hair, slightly overlapping the previously crimped area to avoid gaps and maintain a continuous wave pattern.
- Heat Setting: Moderate to high, depending on your hair’s thickness and health.
- Crimping Time: Typically 5-7 seconds per section. Adjust according to your hair’s response.
Versatile Crimped Hairstyles

Creating Elegant Updos and Ponytails
For those special occasions where a touch of sophistication is desired, updos and ponytails with crimped hair are your go-to styles. Begin with hair that’s been evenly crimped to infuse volume and texture. An elegant crimped high ponytail works exceptionally well for long hair, adding a playful yet chic vibe. Here’s how you can achieve this look:
- Crimp all of your hair using a crimping iron to create consistent wavy patterns.
- Gather your hair into a high ponytail; the crimps give it a voluminous look.
- Secure with a hairband and wrap a small section of crimped hair around it for a polished finish.
Casual and Chic Beach Waves Styling
If you’re after a more laid-back aesthetic, crimped beach waves are a trend worth embracing. This style is perfect for those summer outings or when you just want to add a bit of relaxed glamour to your everyday appearance. Achieving this look is straightforward:
- Lightly crimp your hair to add texture while keeping the waves soft and understated.
- Leave some strands loose around your face to enhance the casual feel.
- Utilize a three-barrel waver for a less defined S-shape, mimicking the natural undulations of beach waves.
This method is ideal for creating a tribal hairstyle vibe or a nod to 90s crimped hair without being overpowering. You can also weave in a small braid for an added bohemian touch. Remember, effortlessness is the key to perfect beach waves, so let your crimped locks flow freely.
Caring for Different Hair Types and Lengths

Styling Tips for Short and Long Hair
Short Hair:
- Choose a smaller crimping iron to create more defined crimps for a crimped bob or shorter styles.
- Use a light-hold hairspray to maintain the texture without weighing down your hair.
Long Hair:
- Crimping long hair or adding extensions can add incredible volume and drama.
- Start crimping from the mid-lengths down to avoid an overabundance of volume at the roots which can be overpowering.
Customizing Crimps for Fine or Thick Hair
Fine Hair:
- To get that perfect crimp without damaging your hair, use a heat protectant and set your crimping iron to a lower temperature.
- Add hair extensions to provide extra fullness to your crimped style.
Thick Hair:
- If you’re blessed with thick or black hair, your robust strands can handle higher heat. However, never skip the heat protectant to maintain health.
- For an even crimp, work in smaller sections to ensure each strand gets equal attention.
Accessorizing and Embellishing Crimped Hair

Innovative Uses of Hair Tinsel and Extensions
Add a magical shimmer to your zig-zag waves with hair tinsel. These thin, sparkling strands can be tied into your hair, creating a captivating sparkle as they intertwine with your crimps. Consider clip-in hair extensions featuring crimped hair for a fuller and more dramatic effect. Add extensions matching your hair color or experiment with contrasting hues to draw attention to your voluminous style.
- Step by Step:
- Select hair tinsel or extensions with crimp accents throughout.
- Part your hair and tie or clip the tinsel/extensions close to the roots.
- Blend them with your natural hair using a micro crimper iron for a seamless finish.
Accentuating with Vibrant Colors and Patterns
Make your crimped hair the star of the show by accentuating it with vibrant colors and patterns. You can achieve this by weaving in green tips with your natural hair or opting for pre-colored crimped extensions. The key is to create a bold contrast. Think of your crimped hair as a canvas and the extensions as your paint, expressing your unique style with each hue.
- Bold Choices:
- Green crimped hair extensions for an edgy, lively vibe.
- Extensions with geometric or floral patterns to introduce an artistic flair.
Maintaining and Refreshing Your Crimped Look

Nighttime Routines for Lasting Style
Before you dive into bed, remember that a little prep can go a long way in preserving the zest of your crimped style.
Begin by gently pulling your hair into a loose ponytail or braid to minimize frizz and maintain the definition of your crimps. Opt for a silk or satin pillowcase to reduce friction and prevent any unwanted frizz or flattening of your crimps.
Applying a light mist of hairspray can offer extra hold, keeping your style intact.
Touch-Up Techniques for Reviving Crimps
Woke up to find your crimps need a revival? No worries! Spritz a little texture spray on your roots to bring back that lively volume. For the areas that need a quick fix, use your crimping iron on low heat to redefine the crimps without causing excess damage.
It’s crucial not to overheat your hair, so always use a heat protectant before any touch-ups. If you’re in a jam and there’s no time to crimp, finger-comb your hair to boost texture and bring life back to your style.
FAQ:
How do you make crimped hair look good?
To make crimped hair look good, use a crimping iron on select strands, leaving some natural for texture, and finish with a light-hold hairspray.
How do you style crinkled hair?
For styling crinkled hair, apply mousse to damp hair, braid it, then let it dry before undoing the braids for defined crinkles.
Do you brush out crimped hair?
Avoid brushing out crimped hair as it can cause frizz. Instead, use your fingers or a wide-tooth comb to shape and separate the crimps gently.
How do you make crimped hair not frizzy?
To prevent frizz in crimped hair, use a smoothing serum before crimping and a light hairspray afterward to hold the style and combat humidity.
If you liked this blog article about the question: “How to Style Crimped Hair”, don’t forget to leave us a comment down below about what you think of the article and whether it inspired you.

